
Mazdaspeed 6 Driveshaft CV Boot Leak – Aftermarket Repair Solution
A common failure on the Mazdaspeed 6 is the CV boot on the transfer case side of the driveshaft tearing and leaking grease. Mazda does not offer a replacement CV boot or joint for this location. From Mazda Genuine, the only repair option is complete replacement of the driveshaft assembly.
Because of this, even a split boot can turn into a costly repair.
The following outlines a documented aftermarket solution that allows the CV joint to be serviced and the boot replaced, provided the joint itself is still in good condition.
What’s actually going on
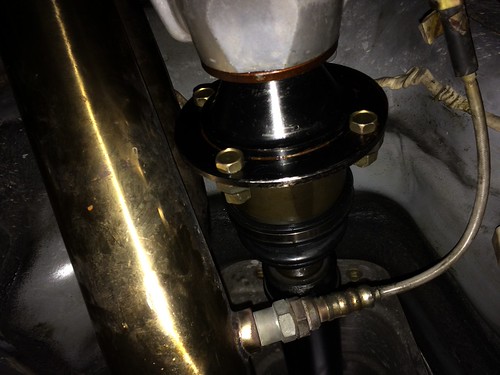
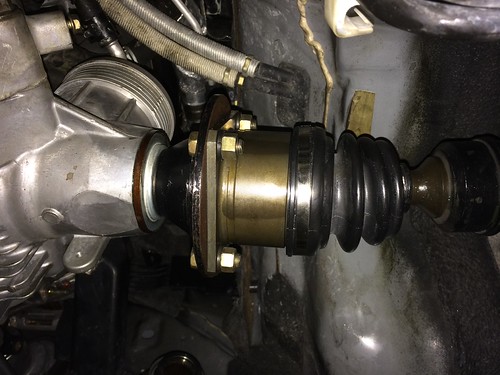
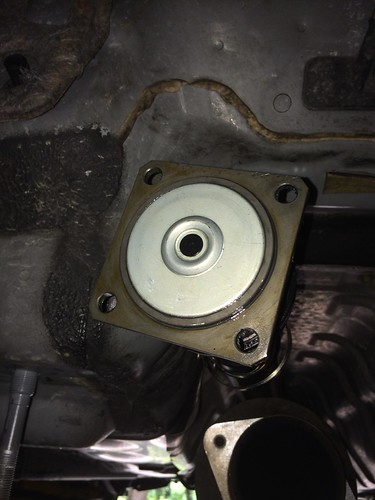
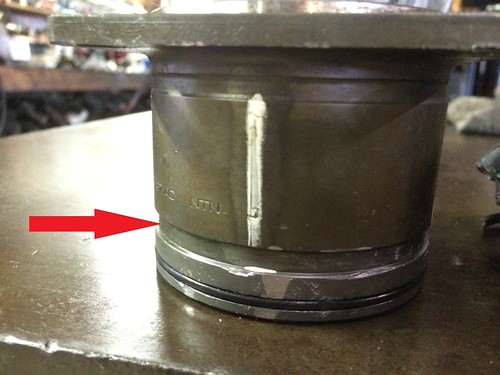
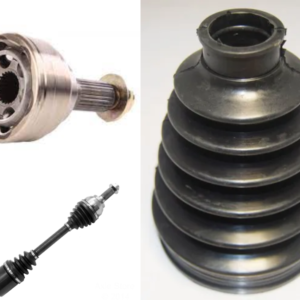
With the driveshaft removed from the transfer case, the CV joint assembly consists of a heavy steel body and a thin pressed metal section at the rear. This thin metal section forms part of the boot housing and also serves as heat protection due to its proximity to the downpipe.
The rubber CV boot itself sits inside this metal shell rather than externally, which is why it is often assumed the joint is non-serviceable.
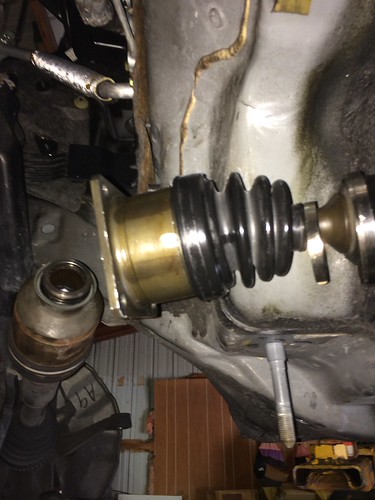
Removing the CV joint
To remove the joint from the shaft:
-
Place a chisel on the shoulder of the thin metal section
-
Strike the chisel with a hammer to drive the joint rearward
-
This allows the end cap to pop free without bending the flange
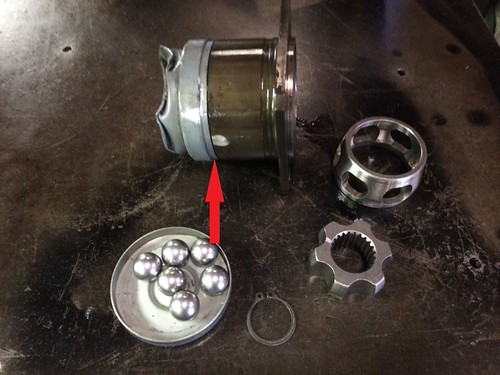
Once the cap is removed, a circlip is exposed. Remove the circlip and the CV joint can then be pulled off the shaft.
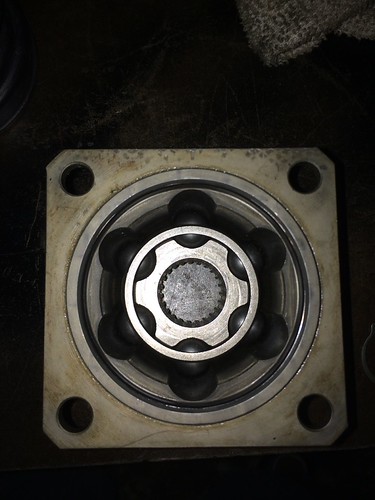
Cleaning and inspection
The factory grease inside the joint is extremely thick and difficult to remove. Fully disassemble and clean the joint using a suitable solvent.
Important:
The internal cage will physically fit in more than one orientation, but only one orientation is correct. Ensure it is reassembled in the same orientation as removed.
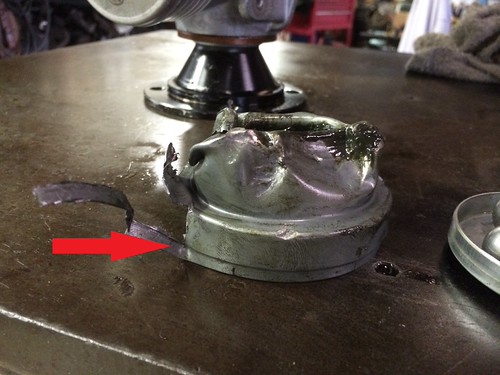
Removing the factory boot
The OEM boot is crimped into a groove on the CV joint housing and is not designed to be removed.
To remove it:
-
Carefully thin the crimped metal in two areas using a grinder
-
Split and peel the metal away using a chisel
-
Take care not to damage the CV joint housing
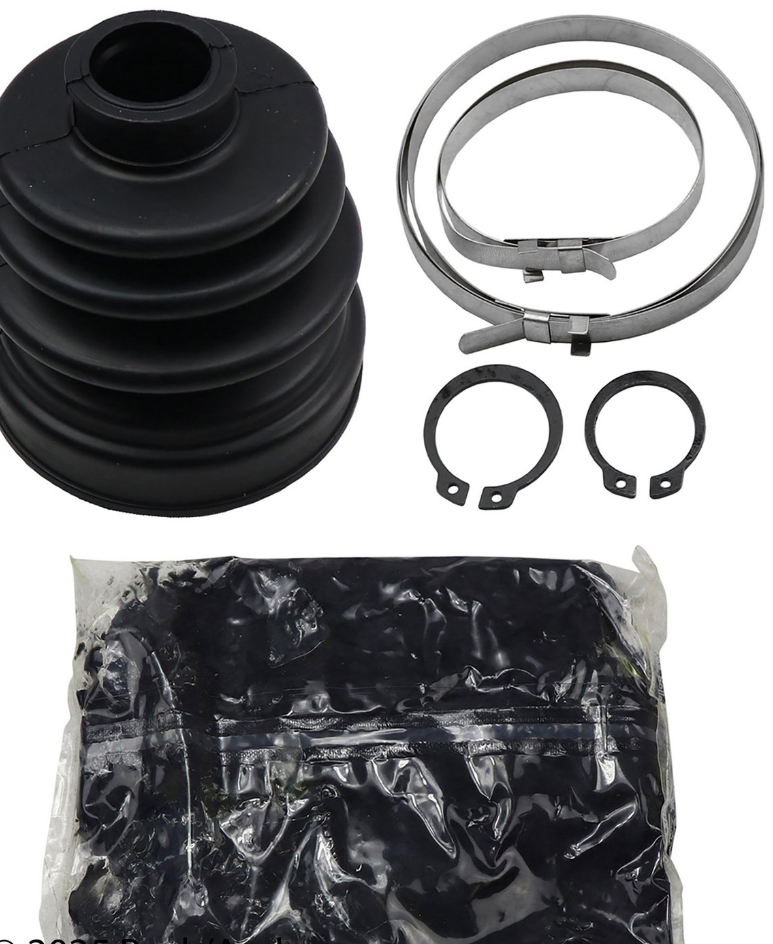
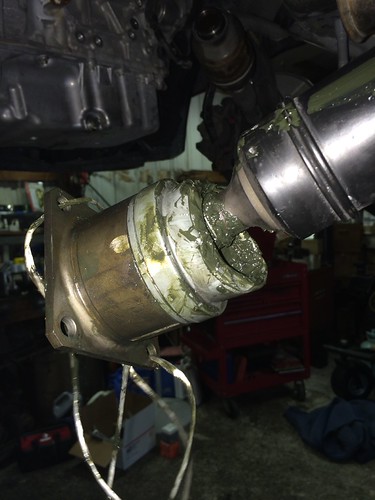
Reassembly using an aftermarket boot
Once cleaned:
-
Reassemble the CV joint as per a conventional CV service
-
Install a suitable aftermarket CV boot
-
Repack with quality CV grease
-
Refit the joint and secure with the circlip
Heat considerations
The aftermarket rubber boot sits close to the downpipe. Long-term durability will depend on heat exposure.
Installing a simple heat shield between the downpipe and CV joint is recommended to reduce radiant heat and help protect the boot over time.

Reviews
There are no reviews yet.